
A leaky sink faucet can turn a peaceful kitchen into a mini water park, and not the fun kind. If drip-drip-dripping is driving you up the wall, it’s time to take action. Replacing that stubborn faucet might sound daunting, but it’s easier than teaching a cat to fetch. With just a few tools and some elbow grease, anyone can transform their sink from drippy disaster to stylish centerpiece.
Tools Needed To Replace Sink Faucet
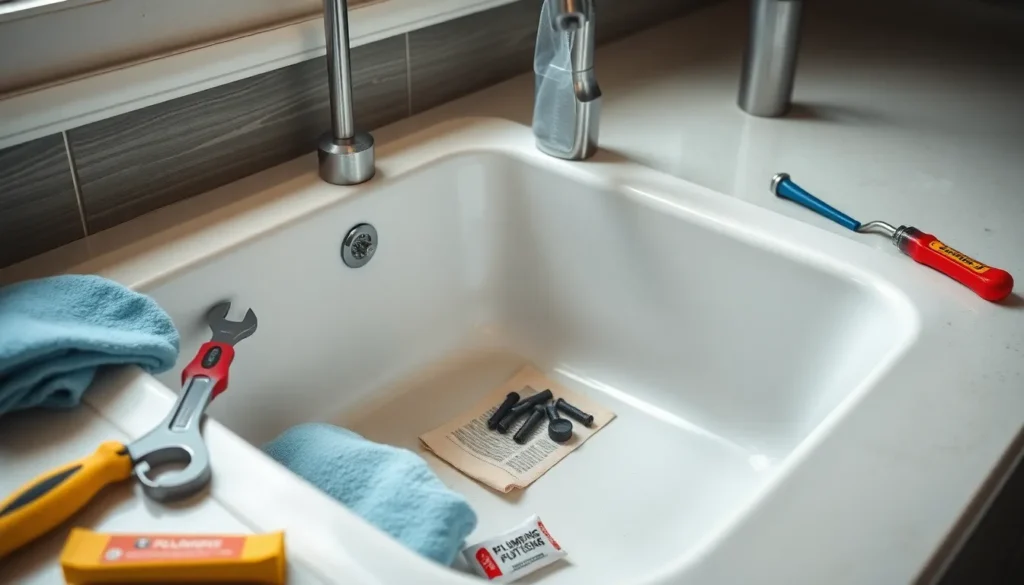
Replacing a sink faucet requires specific tools for a smooth process. Gathering the right equipment simplifies the task and ensures success.
Essential Tools
- Adjustable Wrench
An adjustable wrench allows for flexibility in gripping various sizes of nuts and bolts.
- Basin Wrench
A basin wrench is specifically designed for tight spaces, making it essential for faucet connections.
- Screwdriver
A Phillips and flathead screwdriver aids in removing faucet handles and other components.
- Plumber’s Putty
Plumber’s putty seals joints and prevents leaks, ensuring a secure installation.
- Towels
Towels catch any dripping water during the replacement, keeping the area clean and dry.
Optional Tools
- Pipe Wrench
A pipe wrench grips pipes effectively but may not be necessary for all faucet replacements.
- Utility Knife
This tool assists in cutting old putty or caulk if needed.
- Drill
A drill might be useful for creating holes or adjusting existing faucet mountings.
- Measuring Tape
Measuring tape helps confirm proper sizing when installing a new faucet and ensuring compatibility.
- Safety Glasses
Though optional, wearing safety glasses protects eyes from debris during installation.
Step-by-Step Guide To Replace Sink Faucet

Replacing a sink faucet requires attention to detail. Follow these steps for a smooth process.
Preparing The Area
Clear the area around the sink. Remove any items under the sink to access the plumbing easily. Turn off the water supply at the shut-off valves located beneath the sink. Next, place towels in the area to catch any water spills. This preparation helps in maintaining a clean workspace, preventing damage to your cabinets or flooring. Check the sink’s surface for any signs of wear to address before installing the new faucet.
Removing The Old Faucet
Use the adjustable wrench to loosen the mounting nuts securing the old faucet. Start by disconnecting the water supply lines attached to the faucet. Next, lift the faucet out of its mounting holes. Inspect connections for any remaining debris or corrosion, which can affect the new faucet’s fit and function. If necessary, clean these areas to ensure a proper seal and alignment for the new faucet.
Installing The New Faucet
Position the new faucet into the mounting holes carefully. Apply plumber’s putty around the base to create a watertight seal. Next, press down firmly to secure it in place. Align the faucet handle according to the manufacturer’s instructions, ensuring correct orientation. Tighten the mounting nuts with the adjustable wrench to secure the faucet without over-tightening, which could cause damage.
Connecting Water Supply Lines
Attach the water supply lines to the new faucet using the basin wrench for a secure fit. Ensure that you connect hot and cold lines correctly to avoid issues. After securing them, turn the supply valves back on gradually while checking for leaks. Tighten the connections as needed, and watch for any dripping that may occur. Confirm everything is functioning correctly before moving on to use the new faucet.
Common Challenges When Replacing Sink Faucet
Replacing a sink faucet can present several challenges. Addressing these common issues ensures a smoother installation process.
Dealing With Rusted or Stuck Parts
Rusted or stuck parts can impede progress during the replacement process. Assess the mounting nuts, as they often rust over time. Using penetrating oil can help loosen difficult components. Apply the oil generously and allow it to sit for a few minutes. A basin wrench may provide the leverage needed to turn stubborn nuts. Sometimes, gentle tapping with a hammer on the wrench helps to break the rust’s grip. Patience is key when working with corroded elements; rushing can lead to damage or breaks.
Water Supply Line Compatibility
Water supply line compatibility is crucial in ensuring a successful faucet replacement. Check the size of existing supply lines, typically either 3/8 inch or 1/2 inch. It’s essential to confirm that the new faucet matches those specifications. Mismatches can lead to leaks or complications during installation. Consult the manufacturer’s guidelines on connection types and sizes. Consider replacing old supply lines with new ones if corrosion is evident. New lines can enhance reliability and overall performance as well.
Tips For Maintaining Your New Faucet
Maintaining a new faucet keeps it functioning well. Simple routines make a significant difference in longevity.
Regular Cleaning Techniques
Cleaning your faucet regularly prevents mineral buildup. Use a soft cloth along with mild soap for gentle cleaning. Vinegar can effectively dissolve mineral deposits, keeping the finish shiny. Avoid abrasive cleaners that may scratch surfaces. Tackle spills promptly to maintain its appearance. Rinse the faucet with water after cleaning to remove soap residue. Regular maintenance not only enhances looks but also contributes to performance.
Inspecting for Leaks
Regularly checking for leaks ensures there are no hidden problems. Start by examining the base and the connections where the faucet meets the sink. Any water accumulation signals a potential issue that requires attention. Dry the area after a thorough inspection to monitor for new moisture. Addressing leaks early can prevent extensive damage over time. Tightening connections can often resolve minor leaks without replacing parts. Performing these inspections every few months can save on repair costs in the long run.
Replacing a sink faucet can transform a frustrating issue into a stylish upgrade. With the right tools and a clear step-by-step approach anyone can successfully tackle this project. Emphasizing preparation and maintenance ensures not only a smooth installation but also the longevity of the new fixture.
Regular inspections and simple cleaning techniques can prevent future problems and keep the faucet looking great. By taking proactive steps readers can enjoy a functional and attractive sink that enhances their kitchen experience.