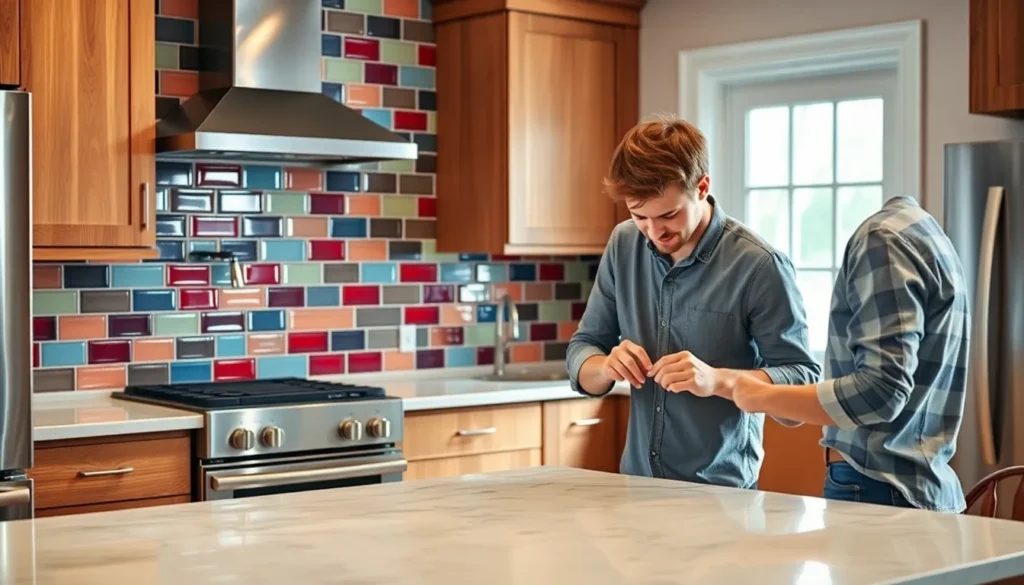
Transforming a kitchen can feel like a daunting task, but installing a backsplash is the perfect way to add personality without breaking the bank. It’s like giving your walls a stylish makeover that says, “Look at me, I’m fabulous!” Whether it’s sleek subway tiles or vibrant mosaics, a backsplash can elevate the entire vibe of your space, making it the envy of every dinner guest.
Table of Contents
ToggleUnderstanding Backsplash Materials
Selecting the right backsplash material influences both aesthetics and functionality. Various options cater to distinct tastes and practical needs.
Types of Backsplash Materials
- Ceramic Tiles: These tiles offer durability and versatility in design. They come in numerous colors, shapes, and sizes.
- Glass Tiles: Glossy surfaces provide a modern feel. Light reflection creates visual interest in any kitchen.
- Stone: Natural stone options, like granite or marble, add elegance and strength. Each piece presents unique patterns and textures.
- Metal: Stainless steel or copper backsplashes introduce an industrial touch. They resist heat and make for easy cleaning.
- Vinyl: Affordable and easy to install. Vinyl backsplashes are available in patterns that mimic other materials.
Choosing the Right Material for Your Space
Assessing kitchen style is crucial when selecting materials. A contemporary kitchen pairs well with glass or metal options. For traditional or rustic interiors, natural stone or ceramic tiles enhance the desired charm. Durability also matters; high-traffic areas need stronger solutions like ceramic or metal. Consider installation complexity as well. DIY enthusiasts might prefer peel-and-stick vinyl options for simplicity. Ultimately, aligning material choice with lifestyle impacts long-term satisfaction.
Planning Your Backsplash Installation

Planning plays a crucial role in the backsplash installation process. Homeowners must carefully consider measurements and design choices before starting the project.
Measuring Your Space
Measuring accurately ensures a perfect fit for the selected backsplash. Start by measuring the length and height of the wall area where the backsplash will be installed. Use a level to mark lines for precise measurements. Account for any outlets or switches, as these will affect tile placement. Write down all measurements to avoid confusion later on. Double-check figures for accuracy to prevent unnecessary material waste, which can save money on supplies.
Selecting a Design and Pattern
Selecting the right design and pattern adds visual appeal to the kitchen. Explore various options like classic subway tiles or bold mosaic patterns that reflect personal style. Consider both color and texture when choosing materials, as they influence the overall ambiance. Keep in mind the kitchen’s existing decor to ensure a harmonious look. Combining different tile sizes or shapes can create unique layouts that enhance aesthetic interest. Choose designs that complement functionality and ease of maintenance, aligning with lifestyle preferences for longer enjoyment.
Tools and Materials Needed
Having the right tools and materials enhances the backsplash installation process. When prepared, the project becomes more efficient and manageable.
Essential Tools for Installation
Measuring tape ensures accurate wall dimensions before starting. A utility knife allows for precise cuts on tiles or backer boards. Trowels and grout floats assist with applying adhesive and grout evenly. A level checks that tiles are straight and aligned correctly. Spacers help maintain consistent gaps between tiles for grout. Lastly, a sponge simplifies cleanup during and after the installation process.
Additional Materials and Supplies
Adhesive is necessary for securing tiles to the wall. Choosing the correct type, such as modified thin-set mortar, improves adhesion. Grout, available in various colors, fills the spaces between tiles, adding a finished look. Sealant protects natural stone or porous materials, ensuring longevity. A primer may be needed for wooden or previously painted surfaces to enhance adhesion. These supplies together create a sturdy and attractive backsplash installation.
Step-by-Step Guide to Installing Backsplash
Follow these steps to ensure a smooth backsplash installation process. Attention to detail during each phase leads to better results.
Preparing the Wall
Start by cleaning the wall surface. Remove any grease or residue with a degreaser. Check for imperfections like holes or cracks, and repair them with spackle. Next, ensure the surface is smooth and even by sanding as needed. Measure the wall precisely, accounting for electrical outlets and switches to avoid obstacles during installation. Mark these positions clearly with a pencil. Finally, consider applying a coat of primer to enhance adhesive bonding.
Cutting and Fitting the Backsplash
Select the chosen backsplash material and gather necessary tools such as a tile cutter and safety glasses. Measure each tile piece according to the wall layout, cutting carefully with the tile cutter. Use a straight edge for clean cuts, ensuring accuracy in size. Once all pieces are cut, dry fit them on the wall. Make adjustments as necessary to confirm alignment and pattern consistency. Confirm the final layout meets design expectations before proceeding further.
Applying Adhesive and Setting the Backsplash
Choose the right adhesive based on the backsplash material. Using a trowel, spread adhesive onto the wall, working in small sections to prevent drying. Press each tile firmly into place, ensuring even spacing. Use spacers between tiles for consistency. Check alignment frequently by pulling a level across the tiles. Allow the adhesive to set according to the manufacturer’s instructions before moving to grouting.
Finishing Touches
Final steps in installing a backsplash enhance both functionality and aesthetics. Attention to detail makes a significant difference in the end result.
Grouting and Sealing
Grouting creates a smooth transition between tiles and fills any gaps. Begin by mixing grout according to package instructions, ensuring uniform consistency. Apply grout using a float, pressing it firmly into the joints. Allow the grout to set for about 15 to 30 minutes before wiping excess with a damp sponge. Once the grout has cured, apply a sealant to protect it from moisture and staining. A well-sealed grout enhances durability and keeps the backsplash looking fresh for years.
Cleaning and Maintenance Tips
Regular cleaning maintains the backsplash’s appearance and functionality. Use a mild detergent and soft cloth for day-to-day cleaning, avoiding abrasive materials that could scratch the surface. For tougher stains, a mixture of baking soda and water easily removes residue without damage. Grout maintenance is crucial; periodic resealing prevents discoloration and mold growth. Scheduling deep cleanings every few months ensures long-lasting beauty, keeping the kitchen space inviting and chic.
Installing a backsplash is a rewarding project that can significantly elevate the kitchen’s aesthetic and functionality. With a variety of materials and designs available homeowners can easily find options that suit their style and needs. Proper planning and execution are key to achieving a seamless look that enhances the overall space.
By following the outlined steps and utilizing the right tools homeowners can enjoy a beautiful backsplash that not only adds charm but also simplifies maintenance. Regular cleaning and occasional resealing will ensure the backsplash remains a stunning focal point for years to come. Embracing this project can lead to a more inviting kitchen that reflects personal taste and enhances daily living.


