
Crown molding isn’t just for royalty; it’s for anyone wanting to elevate their cabinets from drab to fab! Attaching cabinet crown molding can turn a simple kitchen into a sophisticated culinary kingdom. Imagine transforming those plain edges into elegant lines that scream, “Look at me!” without saying a word.
Overview of Cabinet Crown Molding
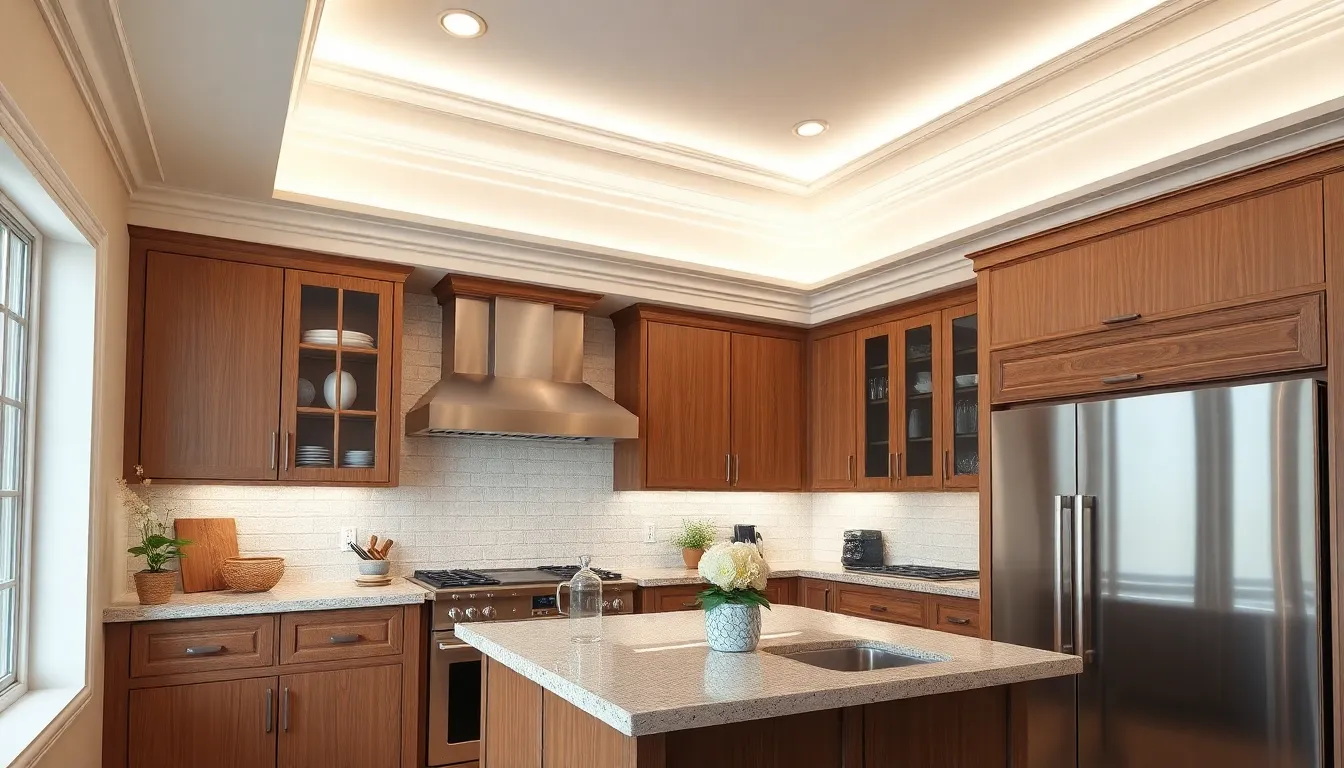
Cabinet crown molding provides an elegant finish that enhances kitchen cabinets. It bridges the gap between the top of the cabinets and the ceiling, creating a seamless look. This molding comes in various styles and sizes, allowing customization to fit different kitchen designs.
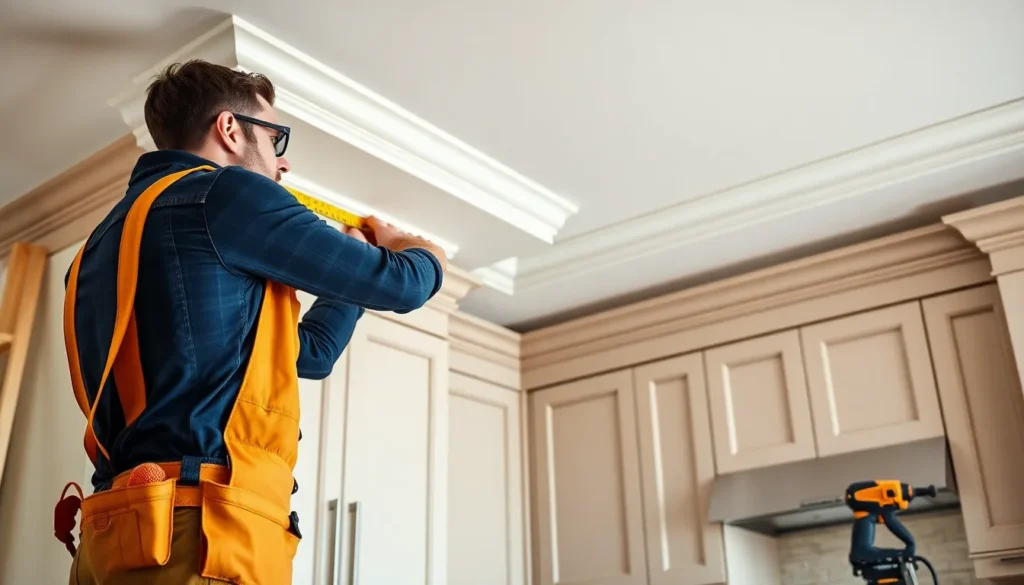
Installation requires precision and attention to detail. For effective results, using proper tools like a miter saw, measuring tape, and adhesive ensures accuracy. Ensuring a snug fit prevents gaps and enhances the visual appeal.
Materials used for cabinet crown molding vary widely. Wood, MDF, and polyurethane are common choices, each offering distinct benefits. Wood offers durability and a classic appearance, while MDF provides a cost-effective option with a smooth finish. Polyurethane withstands moisture, making it suitable for high-humidity areas.
Installers can choose between pre-primed and raw materials. Pre-primed options allow for immediate painting, whereas raw materials require additional preparation. Selecting paint that matches the kitchen’s overall color scheme maximizes aesthetic impact.
Maintenance for crown molding is minimal. Periodic dusting or cleaning with a damp cloth keeps it looking fresh. In cases of damage, touch-up paint easily restores its original appearance.
Overall, cabinet crown molding significantly impacts the style of kitchen cabinets. This decorative element elevates ordinary cabinetry into a sophisticated focal point, enhancing the overall kitchen aesthetics.
Benefits of Attaching Cabinet Crown
Attaching cabinet crown molding offers numerous advantages, enhancing both aesthetics and functionality in the kitchen.
Enhancing Aesthetic Appeal
Crown molding instantly elevates the visual appeal of cabinetry. It transforms plain cabinet tops into decorative features that create a polished look. Various styles are available, allowing homeowners to choose options that suit their design preferences. Wood options exude warmth, while MDF provides a cost-effective solution without sacrificing style. Installing crown molding fills gaps between the cabinets and ceiling, creating a seamless transition that draws the eye upward. Clean lines and intricate detailing add sophistication, making the kitchen feel more welcoming and curated.
Adding Value to Your Kitchen
Enhanced appeal contributes to increased property value. Prospective buyers often regard kitchens with crown molding as more desirable, which can lead to higher offers. Home improvement projects, particularly kitchen upgrades, yield significant returns on investment. Statistics show that kitchens featuring crown molding can command better resale prices, attracting buyers who appreciate meticulous design. Crown molding also signals quality craftsmanship, making a lasting impression on visitors and potential buyers alike. By investing in cabinet crown, homeowners not only improve aesthetics but also position their property favorably in the market.
Different Types of Crown Molding
Crown molding comes in various materials and styles, showcasing versatility for kitchen cabinets.
Materials Used
Wood remains a popular choice for crown molding due to its natural beauty and durability. It can be easily stained or painted to match cabinetry. MDF, or medium-density fiberboard, offers a cost-effective alternative with a smooth surface ideal for painting. This material resists warping better than wood, making it suitable for humid environments. Polyurethane provides a lightweight option that mimics the look of wood, while being resistant to moisture and insects, ensuring longevity and minimal maintenance. Each material contributes distinct advantages, allowing homeowners to choose what best fits their needs.
Styles Available
Traditional styles typically feature intricate designs with detailed patterns and curves. Contemporary options often embrace clean lines and minimalistic designs, appealing to modern aesthetics. Also, colonial styles provide a classic appeal with simple yet elegant profiles. To complement various design themes, some homeowners select farmhouse styles, characterized by rustic charm and simplicity. Each style enhances the cabinet’s visual impact, creating a unified look that ties in the overall kitchen design. Choices in crown molding styles cater to diverse tastes, ensuring every kitchen can achieve its desired character.
How to Attach Cabinet Crown
Attaching cabinet crown molding elevates a kitchen’s visual appeal while enhancing its functionality. The following sections guide the process.
Tools Required
Certain tools simplify the installation of cabinet crown molding. A miter saw ensures accurate cuts at varying angles. A nail gun enables quick and easy attachment of the molding to the cabinets. A measuring tape provides precise dimensions during the measuring phase. Additionally, a level helps ensure proper alignment during installation. Other useful items include a stud finder and wood glue, which add stability to the crown and secure the joints.
Step-by-Step Instructions
Start by measuring the top edge of the cabinets to determine the length of each crown molding piece. Next, cut the pieces at a 45-degree angle as needed for corners using the miter saw. Securely position the molding against the cabinet and use a level to confirm alignment. Attach it with a nail gun to ensure a firm hold. For joints and seams, applying wood glue helps create a seamless look. Fill any nail holes with wood filler and sand once dry for a polished finish. Finally, paint or stain the crown as desired, enhancing the cabinetry’s beauty.
Common Mistakes to Avoid
Improper measurements can lead to significant issues when installing cabinet crown molding. Always measure twice before cutting to ensure a precise fit. Neglecting to account for uneven ceilings may also affect the final appearance. A level surface ensures a cleaner installation that blends seamlessly into existing cabinetry.
Using the wrong type of adhesive can create complications during the installation process. Always select a strong adhesive suited for your chosen molding material. Failure to pre-drill holes can result in wood splitting, compromising the molding’s integrity. Pre-drilling prevents damage and secures the molding firmly in place.
Skipping the preparation steps can lead to an unprofessional finish. It’s essential to sand and prime wood or MDF molding to achieve the best adhesion and paint finish. Overlooking corner cuts is a common mistake. Accurate 45-degree angle cuts will help create clean seams at the joints.
Ignoring paint or stain choice may affect the overall aesthetics. Selecting a color that complements kitchen cabinets enhances visual appeal significantly. Not using caulk can also show gaps between the molding and ceiling or cabinets. Applying caulk fills these gaps, ensuring a polished look.
Lastly, overlooking maintenance can shorten the lifespan of the crown molding. Regular dusting and occasional touch-ups maintain its appearance. Keeping these common mistakes in mind can elevate the installation process and improve results when attaching cabinet crown molding.
Attaching cabinet crown molding is a smart way to elevate any kitchen’s aesthetic. It transforms ordinary cabinetry into eye-catching features that enhance the overall design. With various styles and materials available homeowners can choose options that best fit their preferences and budgets.
The installation process may require some precision but the results are well worth the effort. By investing in crown molding homeowners not only beautify their space but also increase their property’s marketability. A well-executed crown molding installation can make a significant difference in both style and value.